360⁰ Approvers 

Approving or Denying Rater Lists

Each 360⁰ participant will nominate people to rate them, in some cases they will require a coach or leader to approve the list of nominations. If you are listed as an approver, you will see a 'Rater Lists to Approve' section on your dashboard (homepage) that displays the Rater Lists ready for your approval.  From here, you can approve or deny nominations and add comments.

Resources

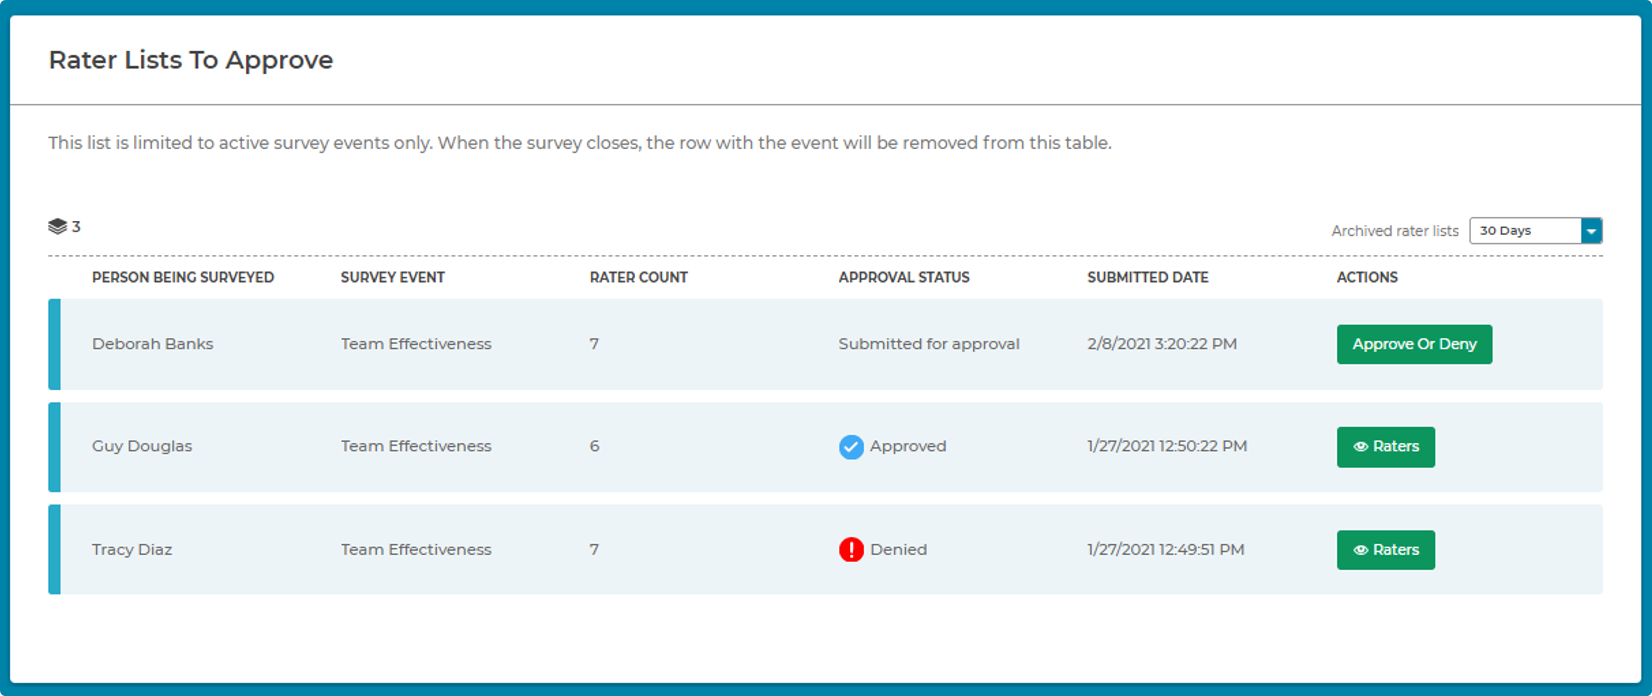
Expand each section below for detailed instructions.

Approve Rater Lists

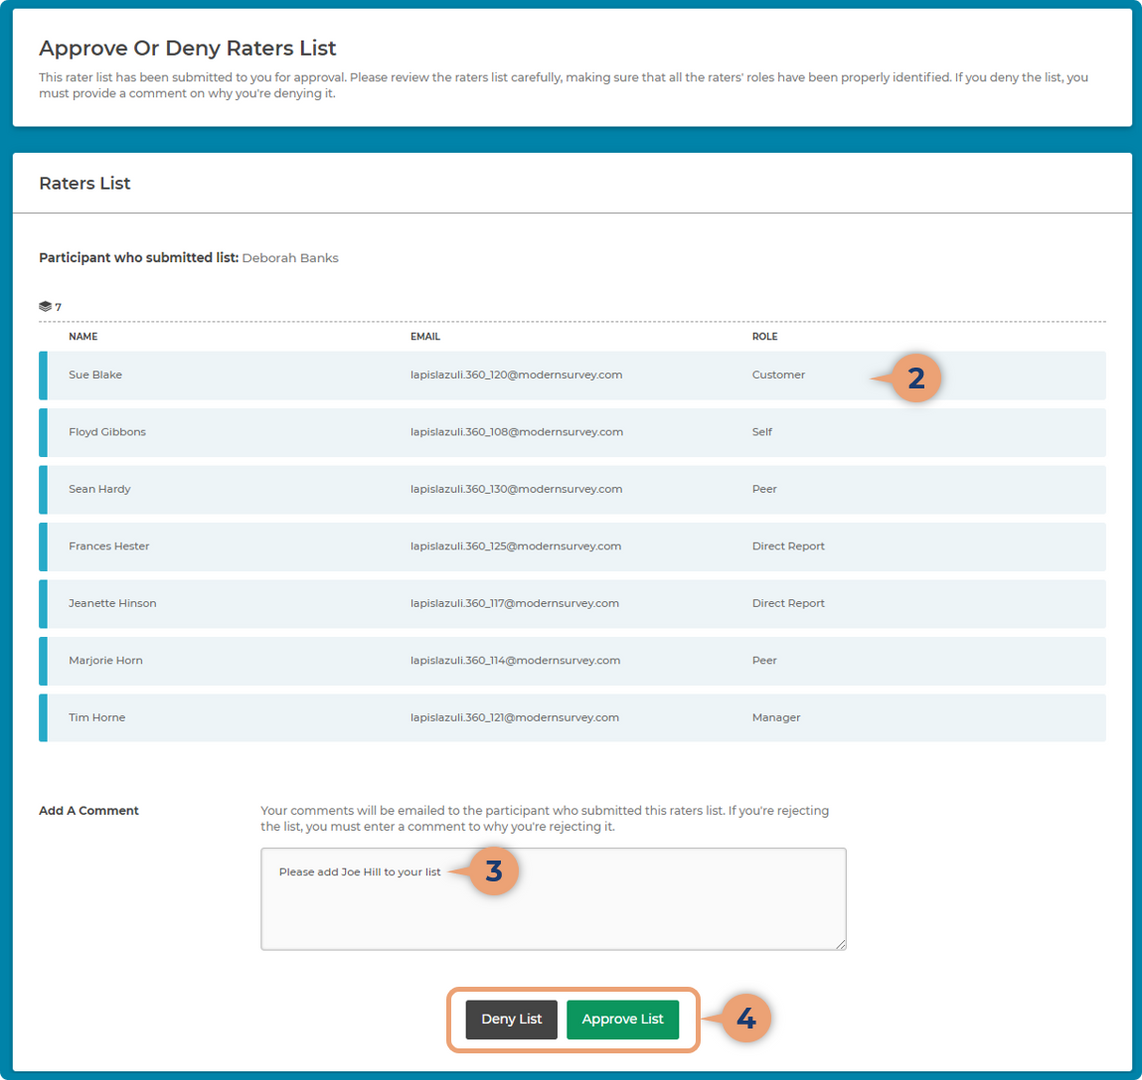
How to approve a rater list:

  1. Click the Approve or Deny button
  2. Review the list
  3. Add a Comment (optional)
  4. Click the Approve List button

What happens next:

  • The screen will update with an 'Approved' status and show any comments you entered with the date and time.
  • The participant will see a notification on their dashboard with the new 'Approved' status.
  • An email will be sent to the participant letting them know you approved their Rater List.


Deny Rater Lists

How to deny a rater list:

  1. Click the Approve or Deny button
  2. Review the list
  3. Add a Comment with your suggested nomination edits (required)
  4. Click the Deny List button

What happens next:

  • The screen will update with a 'Denied' status and show any comments you entered with the date and time.
  • The participant will see a notification on their dashboard with the new 'Denied' status and can make adjustments and resubmit.
  • An email will be sent to the participant letting them know you denied their Rater List.

Approving & Releasing Reports

Some events require a Report Approver which is usually a coach or leader to review reports and then release it to the participant. Use these instructions if you are a Report Approver and received a notification that you have reports ready to review & release.

  1. From your Dashboard, scroll to the Your Team's Reports section.
  2. Click the Download Report button to save a copy to your computer and review it.
  3. From the Status column, select Released from the dropdown menu.
    • The report will appear in the participants Dashboard for them to access it. This will not send the participant an email.
    • Selecting the Waiting for release status or Denied status will remove a report from a participant's Dashboard. This will prevent them from being able to download (or re-download) a report you previously released to them.
  4. Click the Send Release Email button to send an email to the participant letting them know the report is available.
    • Use the Send Release Email button to re-send emails at any time.